 how-to
How to Troubleshoot Sewing Machine Tension
Table of Contents
- Understanding Sewing Machine Tension Basics
- Identifying Tension Problems from Stitch Appearance
- Step-by-Step: How to Adjust Sewing Machine Tension
- Step 1: Raise the Presser Foot and Check the Needle Position
- Step 2: Rethread the Upper Thread Completely
- Step 3: Record Your Baseline Tension Setting
- Step 4: Test on Scrap Fabric (Baseline Test)
- Step 5: Adjust by One Number and Test Again
- Step 6: Repeat Until Balanced
- Step 7: Document Your Final Setting
- Why Small Adjustments Matter
- Fixing Thread Looping Under Fabric
- Sewing Machine Bobbin Tension: Diagnosis and Adjustment
- Sewing Machine Tension Settings for Quilting
- Fabric, Thread, and Needle Compatibility
- Preventive Maintenance and When to Seek Professional Help
- Frequently Asked Questions
Last Updated: October 4, 2026
Understanding Sewing Machine Tension Basics
Sewing machine tension controls how tight or loose your thread sits in the fabric. When tension is balanced, your stitches look even on both sides.
Tension is a balance: the upper thread pulls down, the bobbin thread pulls up, and when both pull equally, they lock in the middle of the fabric.
Tension problems often stem from threading, bobbin placement, or needle position, check these basics before adjusting the tension dial.
Upper Thread vs. Bobbin Thread
The upper thread feeds from the spool through tension discs, guides, and the needle. The bobbin thread winds up from below. Both must be threaded correctly and balanced, a perfect upper thread paired with a misaligned bobbin will still ruin your stitch.
How Tension Discs Work
Tension discs are two metal plates that grip the upper thread. A higher dial number tightens the grip; lower loosens it. Most machines range 0-9, with 4-5 as default. The discs affect only the upper thread, which is why bobbin tension is adjusted separately and rarely needs changing.
Identifying Tension Problems from Stitch Appearance
Your stitches reveal the problem, but only if you examine both sides. Most sewists check only the top; professionals examine the underside too.
The Symptom-to-Cause Decision Tree
Use this framework to diagnose the problem before you adjust anything:
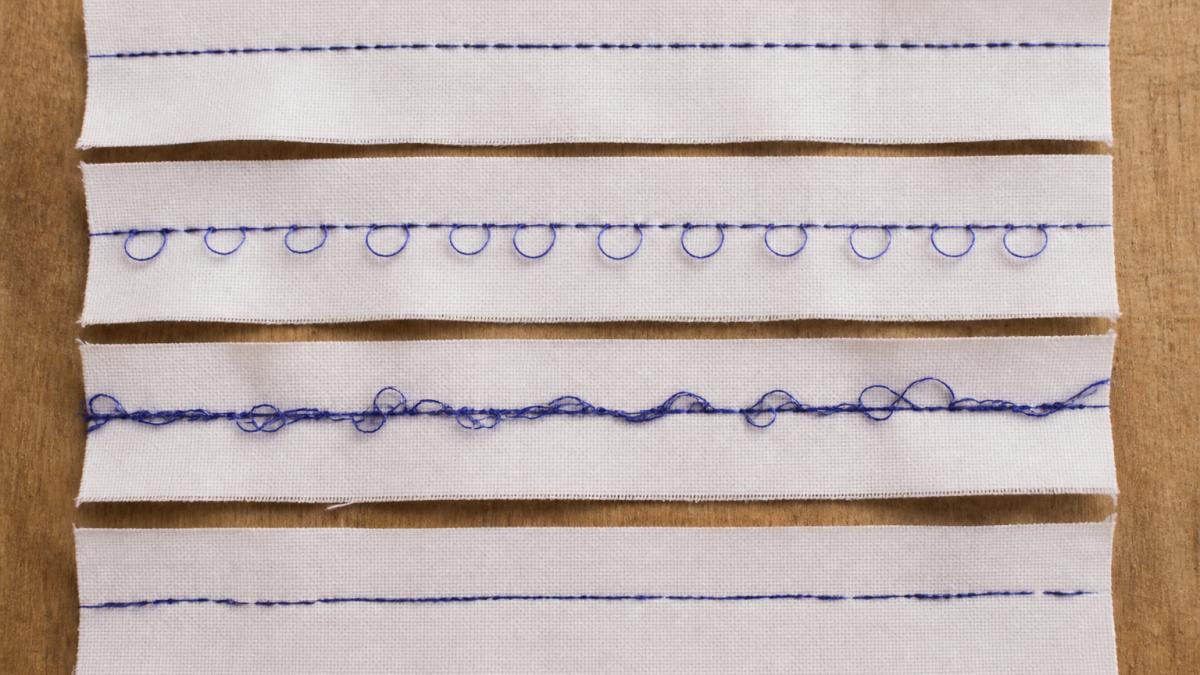
Symptom: Loops of thread visible on the underside (top looks normal)
- Likely cause: Upper thread is too loose
- Why: The bobbin thread pulls the upper thread down instead of the threads locking in the middle of the fabric
- First fix: Rethread the upper thread with the presser foot raised; if looping persists, increase upper tension by one number
- If that fails: Check the needle for bending or dullness; replace it and test again
Symptom: Loops of thread visible on the top (underside looks normal)
- Likely cause: Bobbin tension is too loose OR upper thread is not seated in the tension discs
- Why: The upper thread sinks too far down, pulling loose bobbin thread to the surface
- First fix: Rethread the upper thread completely; ensure the presser foot is raised when threading
- If that fails: Check that the bobbin is wound smoothly and inserted correctly; a loose or improperly wound bobbin causes this symptom
Symptom: Fabric puckers; stitches look bunched and tight on both sides
- Likely cause: Upper thread tension is too tight
- Why: The upper thread pulls the fabric together instead of sitting evenly in the weave
- First fix: Decrease upper tension by one number; test on scrap fabric
- If that fails: Check the needle size, a needle that's too small for your thread or fabric can cause excessive tension
Symptom: Stitches look uneven; some loose, some tight, no consistent pattern
- Likely cause: Needle is bent, dull, or inserted incorrectly; OR thread is not seated in tension discs
- Why: A damaged needle creates irregular stitch formation; an unthreaded tension disc allows the thread to slip
- First fix: Replace the needle with a fresh one; rethread the upper thread
- If that fails: Check that the needle is inserted all the way into the needle clamp and facing the correct direction (check your manual for orientation)
Symptom: Thread breaks frequently during sewing
- Likely cause: Upper tension is too tight; OR needle is bent, dull, or wrong size; OR thread is kinked
- Why: Excessive tension stresses the thread; a damaged needle creates friction; kinked thread catches and snaps
- First fix: Replace the needle; rethread the upper thread slowly; decrease tension by one number
- If that fails: Check that your thread is appropriate for your needle size and fabric weight
Testing on Scrap Fabric
Never adjust tension on your real project. Use scrap fabric matching your project's weight and fiber content. Cut a 6×4 inch piece, use contrasting thread, and sew a straight seam.
Step-by-Step: How to Adjust Sewing Machine Tension
Tension adjustment is simple with the right order and method. Most mistakes happen from skipping steps, adjusting too much at once, or not testing between changes.
Step 1: Raise the Presser Foot and Check the Needle Position
Always raise the presser foot before threading, this opens the tension discs so the thread seats properly.
Step 2: Rethread the Upper Thread Completely
Remove the thread completely and start fresh. Thread slowly from the spool, feeling slight resistance as it passes through the tension discs, this confirms proper seating. Continue smoothly through the needle bar guide and into the needle eye. Threading too fast causes you to miss guides and skip the tension discs. Follow your machine's threading diagram exactly.
Step 3: Record Your Baseline Tension Setting
Write down the current tension dial number as your baseline. Keep a notebook recording the machine model, starting tension, fabric, thread, needle, and test results. This record reveals patterns over time, for example, quilting cotton piecing at 4.5 versus stretch knits at 3.5.
Step 4: Test on Scrap Fabric (Baseline Test)
Use scrap fabric matching your project's weight and fiber. Cut a 6×4 inch piece with contrasting thread and sew a straight seam at the current tension setting. Examine both sides for even stitches, thread locking in the middle, and any loops, bunching, puckering, breakage, or skipped stitches. Record observations as your baseline for comparison.
Step 5: Adjust by One Number and Test Again
Adjust by one number only, never jump from 5 to 8. If baseline showed loops on the underside, increase tension by one number; if bunching or tight stitches, decrease by one. Sew another test seam on fresh scrap, examine both sides, and record results.
Step 6: Repeat Until Balanced
Continue adjusting by one number at a time until stitches balance on both sides and thread locks in the middle. Most general sewing uses 3.5-6; if you reach 8-9 without improvement, stop, the problem is likely needle, bobbin, threading, or fabric compatibility, not upper tension.
Step 7: Document Your Final Setting
Document your final setting with fabric, thread, needle, and stitch appearance. Example: Singer Heavy Duty, quilting cotton, 50-weight polyester, size 80/12 needle, tension 4.5, balanced stitches with no puckering. This record lets you quickly return to the right setting and troubleshoot faster later.
Why Small Adjustments Matter
Tension dials are sensitive; a jump from 4 to 6 is significant, while 4 to 4.5 is subtle but often sufficient. Adjusting one number at a time prevents overshooting and teaches you your machine's sensitivity.
Fixing Thread Looping Under Fabric
Loops of upper thread on the underside mean the upper thread is too loose. Rethread completely with the presser foot raised, ensuring the thread seats in the tension discs. If looping continues, increase tension by one number and test. If looping persists at 8-9, check the needle for bending or dullness and replace it. Also verify the bobbin is wound smoothly and inserted correctly.
Sewing Machine Bobbin Tension: Diagnosis and Adjustment
Bobbin tension differs from upper thread tension and rarely needs changing, most machines arrive factory-set correctly.
When to Adjust Bobbin Tension
Adjust bobbin tension only after exhausting other fixes. Signs of wrong bobbin tension: loose loops on underside (bobbin too loose), puckered fabric (bobbin too tight), or uneven stitches unresponsive to upper tension changes. First rethread the upper thread, clean the bobbin area, replace the needle, and test on scrap.
Safe Bobbin Tension Adjustment
The bobbin case screw controls tension but is easy to overtighten. Turn only a quarter turn, test on scrap, then another quarter turn if needed, never more than a half turn at a time. Most sewists should not adjust bobbin tension themselves; ask a professional if unsure.
Sewing Machine Tension Settings for Quilting
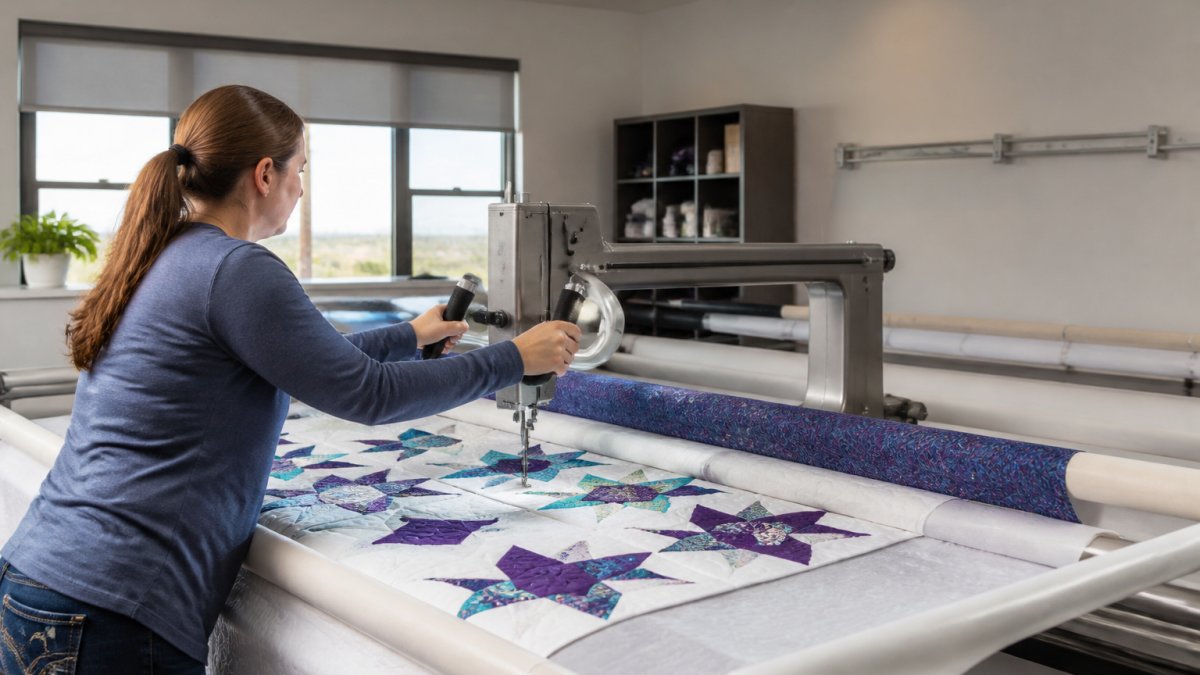
Quilting has different tension needs than regular sewing. Quilting stitches are longer and looser.
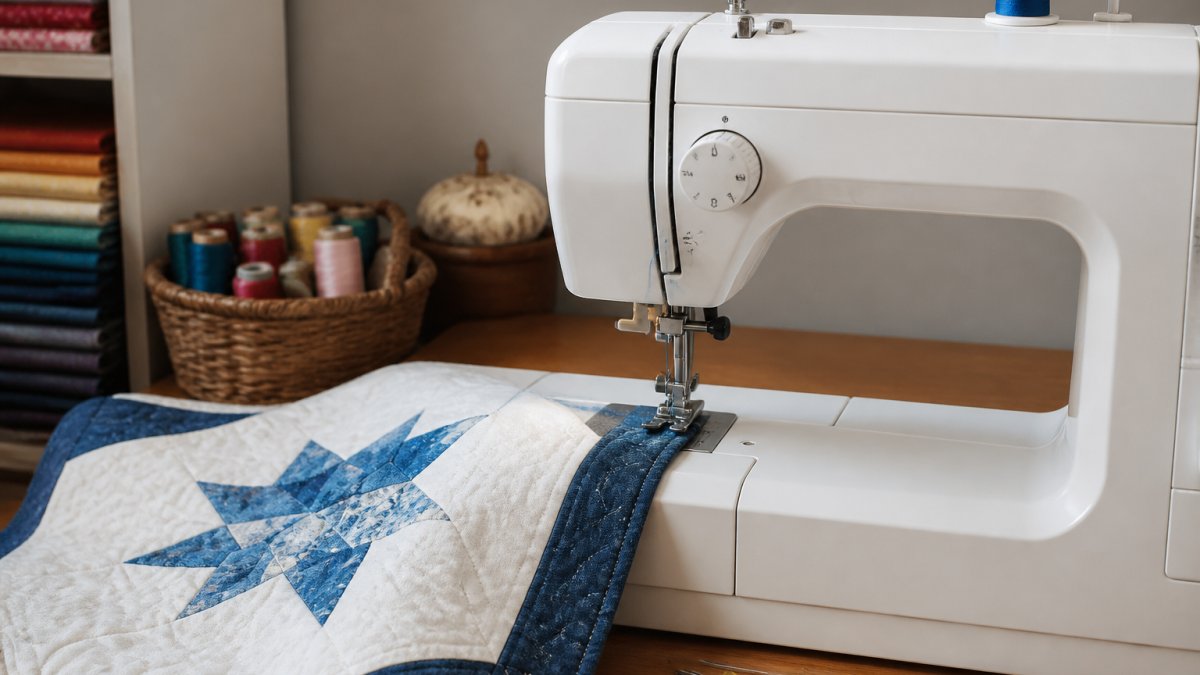
For piecing, use a tension setting between 4 and 5.
For quilting, use a setting between 3 and 4.
For free-motion quilting, drop the tension even lower, around 2 or 3.
Always test on a scrap that matches your project. Use the same thread, needle, and fabric.
Fabric, Thread, and Needle Compatibility
Tension problems often aren't tension problems at all. They're fabric, thread, or needle mismatches.
Thick fabrics need a larger needle. Delicate fabrics need a smaller one.
Heavy thread needs a larger needle eye. Fine thread needs a smaller eye.
Different fabrics also behave differently. Stretchy knits need a ballpoint needle.
Before you adjust tension, check your needle.
Also match your thread to the fabric. Thick quilting thread works on quilts.
Preventive Maintenance and When to Seek Professional Help
Keep your machine clean and it will reward you with perfect tension every time.
Cleaning Lint and Thread Nests
Lint builds up in the bobbin area. Over time, it clogs the feed dogs and prevents smooth thread feeding.
Clean the bobbin area every time you change the bobbin. Use a small brush or compressed air.
Also clean under the presser foot. Thread nests can wrap around the feed dogs.
For deep cleaning, remove the bobbin case if your machine allows it. Brush out all the lint.
When to Stop DIY Troubleshooting
You've rethreaded. You've tested on scrap. You've adjusted tension. The problem persists.
That's when to stop and call a professional.
Some problems need a technician:
- Needle won't stay straight (bent timing)
- Thread breaks constantly even with new needles
- Bobbin case is cracked or damaged
- Tension dial spins but doesn't change tension
- Machine makes grinding noises
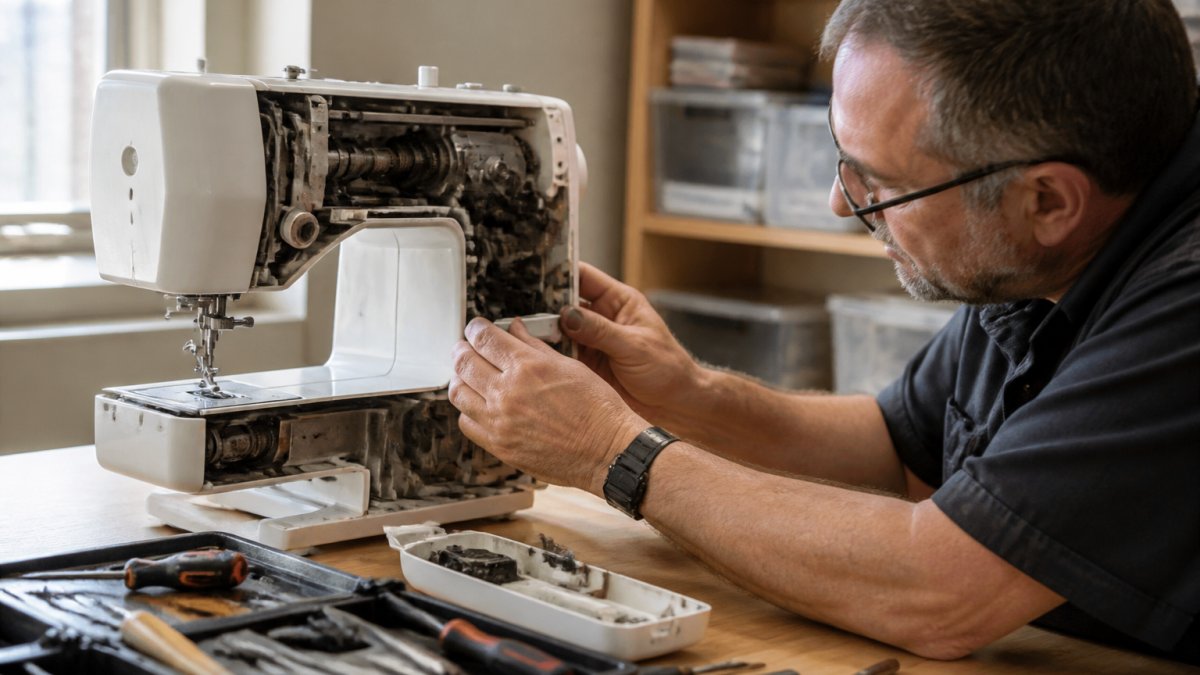
Trying to fix these yourself can make things worse. At Nebraska Quilt Company, our certified technicians diagnose problems quickly and repair them right.
If your machine is under warranty, don't open it yourself. Warranty covers factory repairs, not damage from DIY attempts.
Frequently Asked Questions
How do you know if sewing machine tension is too high or too low?
Tension that's too tight creates bunched thread and puckered fabric; you'll see the top thread pulled to the underside. Tension that's too loose produces looping on the bottom of your fabric and loose, sloppy stitches. Test on scrap fabric with contrasting thread color to see exactly where the problem lies. Most machines have a tension dial numbered 0-9; start at 4 or 5 and adjust gradually in small increments.
Should I adjust the upper tension or the bobbin tension first?
Always adjust upper tension first. The upper tension dial is designed for frequent tweaks and is easier to control. Bobbin tension adjustment requires removing the bobbin case and is a more delicate procedure, reserve it for when upper tension adjustment alone doesn't solve the problem. Most tension issues stem from upper thread problems: incorrect threading, a bent needle, or lint in the tension discs.
Why is thread looping underneath my sewing machine fabric?
Thread looping under the fabric usually means upper thread tension is too loose. The bobbin thread isn't being pulled up enough to lock the stitch properly. Before adjusting tension, rethread the upper thread with the presser foot raised, this resets the tension discs. Check that the needle is inserted correctly and not bent. Clean lint from around the tension discs and needle plate. If looping persists after these steps, gradually tighten the upper tension dial.
What tension settings work best for quilting?
Quilting typically requires slightly looser tension than regular piecing to prevent thread breakage and puckering through multiple fabric layers. Start at a setting 0.5 to 1 point lower than your piecing tension, most quilters find 3-4 works well on a 0-9 scale. Use a longer stitch length (3.5-4mm) and test on layered scrap fabric with batting. Adjust gradually while monitoring stitch balance on both the top and underside of your quilt sandwich.
Tension problems stop you from enjoying your sewing. But they're fixable. Start with the basics: raise the presser foot, rethread carefully, and test on scrap fabric. Most tension issues disappear once you follow the right steps. If problems persist after you've tried everything, Nebraska Quilt Company's certified repair team can get your machine running perfectly again. We offer nationwide shipping for repairs and expert support for every machine brand we carry.